
The Ultimate Guide to Stacking Lumber for Optimal Drying
Here are the best tips for air drying lumber to get the best results
Sawyers, builders and woodworkers dry their lumber so it's easier to work with, and you want to get your lumber dried quickly and evenly.
But there's a lot of different ways it can go wrong. Poorly dried lumber can warp, giving you inconsistent materials that require a lot of work to fix.
This can be especially frustrating for portable sawmill owners who mill their own lumber, because they don't want the product of their hard work to go to waste.
This guide will teach you the basics on stacking lumber, whether you're doing air drying or kiln drying, so you can achieve the best air flow for properly dried lumber.
Why should I dry my lumber?
Stacking and drying your own lumber has a number of benefits:
-
-
Dried lumber maintains its size and shape because much of the natural shrinkage has already occurred.
-
Green lumber can warp and twist as moisture leaves the wood.
-
Air drying or kiln drying lumber while it is stickered and strapped helps prevent deformation.
-
Properly dried boards are more stable and predictable for woodworking projects.
-
What are the problems caused by poorly dried lumber?
Lumber drying requires a number of best practices and if they're not followed, the following could occur:
-
-
Warping: Caused when boards aren't tied down or there isn't enough weight on them, boards will want to cup as they dry.
-
The Solution: Ensure your boards are properly tied down with ratchet straps or are weighed down with heavy weights across the top.
-
-
Mold: This occurs when boards are stacked without room between them, letting moisture get trapped, causing mold to grow.
-
The Solution: Ensure there is at least an inch of space between the boards by using stickers, thin pieces of wood, to let them breathe.
-
-
Uneven Drying: This happens with poor air circulation in a kiln, where hot, dry air is affecting one area but not another, causing some of your lumber to take much longer to dry.
-
The Solution: Use fans to move the air around your drying space, ensuring even drying.
-
-
Checking and Splitting: Caused when the ends of a log or board dry out, this can often ruin the entire board.
-
The Solution: Slow, long drying periods help mitigate this, but there are also specialty paints or latex paints some sawyers use which reduce the chances of checking.
-
-
When should I start drying my own lumber?
Ideally you begin drying freshly cut lumber shortly after it's been milled. Follow best practices for stacking lumber, and use a moisture checker to check the moisture content over time, and you can have nice, dry lumber within a few weeks or a few months, depending on the thickness of the boards.
What are the steps I should follow to stacking lumber for proper drying?
Here are the steps you want to follow to ensure even, quick drying for your lumber, regardless of wood species.
Step 1: Prepare a drying space
There are multiple different ways to dry your lumber, but the three most popular are:
-
-
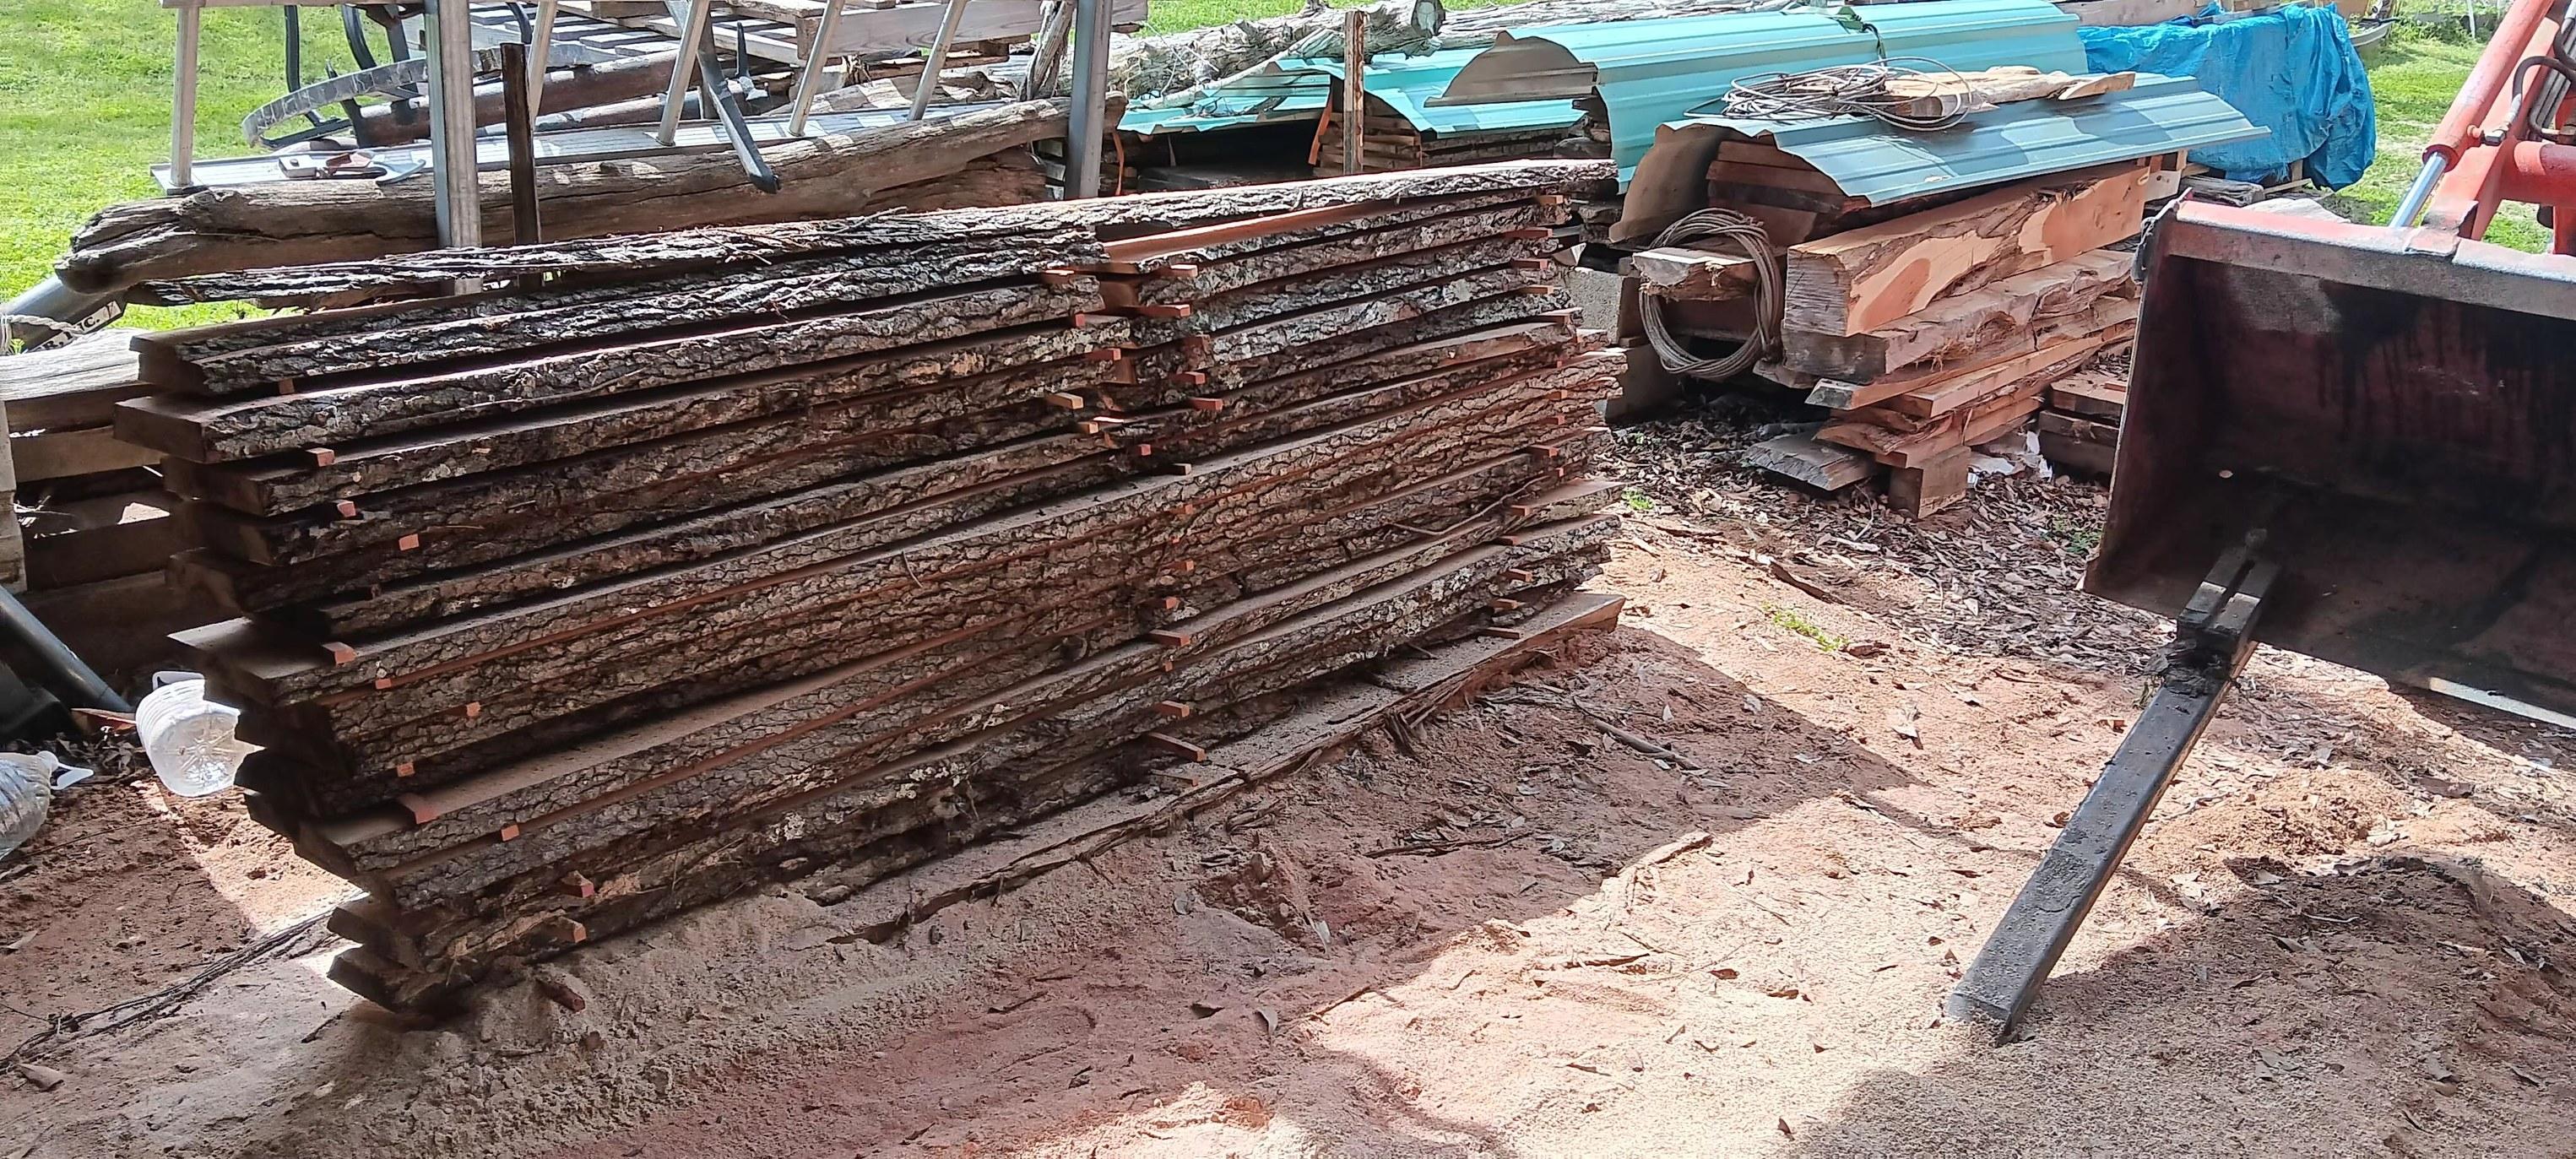
Air Drying: This uses your outdoor space to dry your wood. You'll want to put your stacks of wood on cinder blocks or something elevated so the bottom boards don't soak up moisture from the ground. This offers the least amount of moisture control and is most impacted by weather.
-
Solar Kilns: These kilns use natural heat, such as with a transparent sheet of glass on the exterior of the structure, to capture and retain heat. Using simple box or rotary fans, you can move this hot air around the space, making for a cheap and efficient way of lumber drying.
-
Dehumidification Kilns: A more complicated drying method, these kilns generate their own heat and have a heavy emphasis on humidity control. These kilns are often more expensive and require more oversight, but yield great results.
-
Step 2: Prepare your stickers
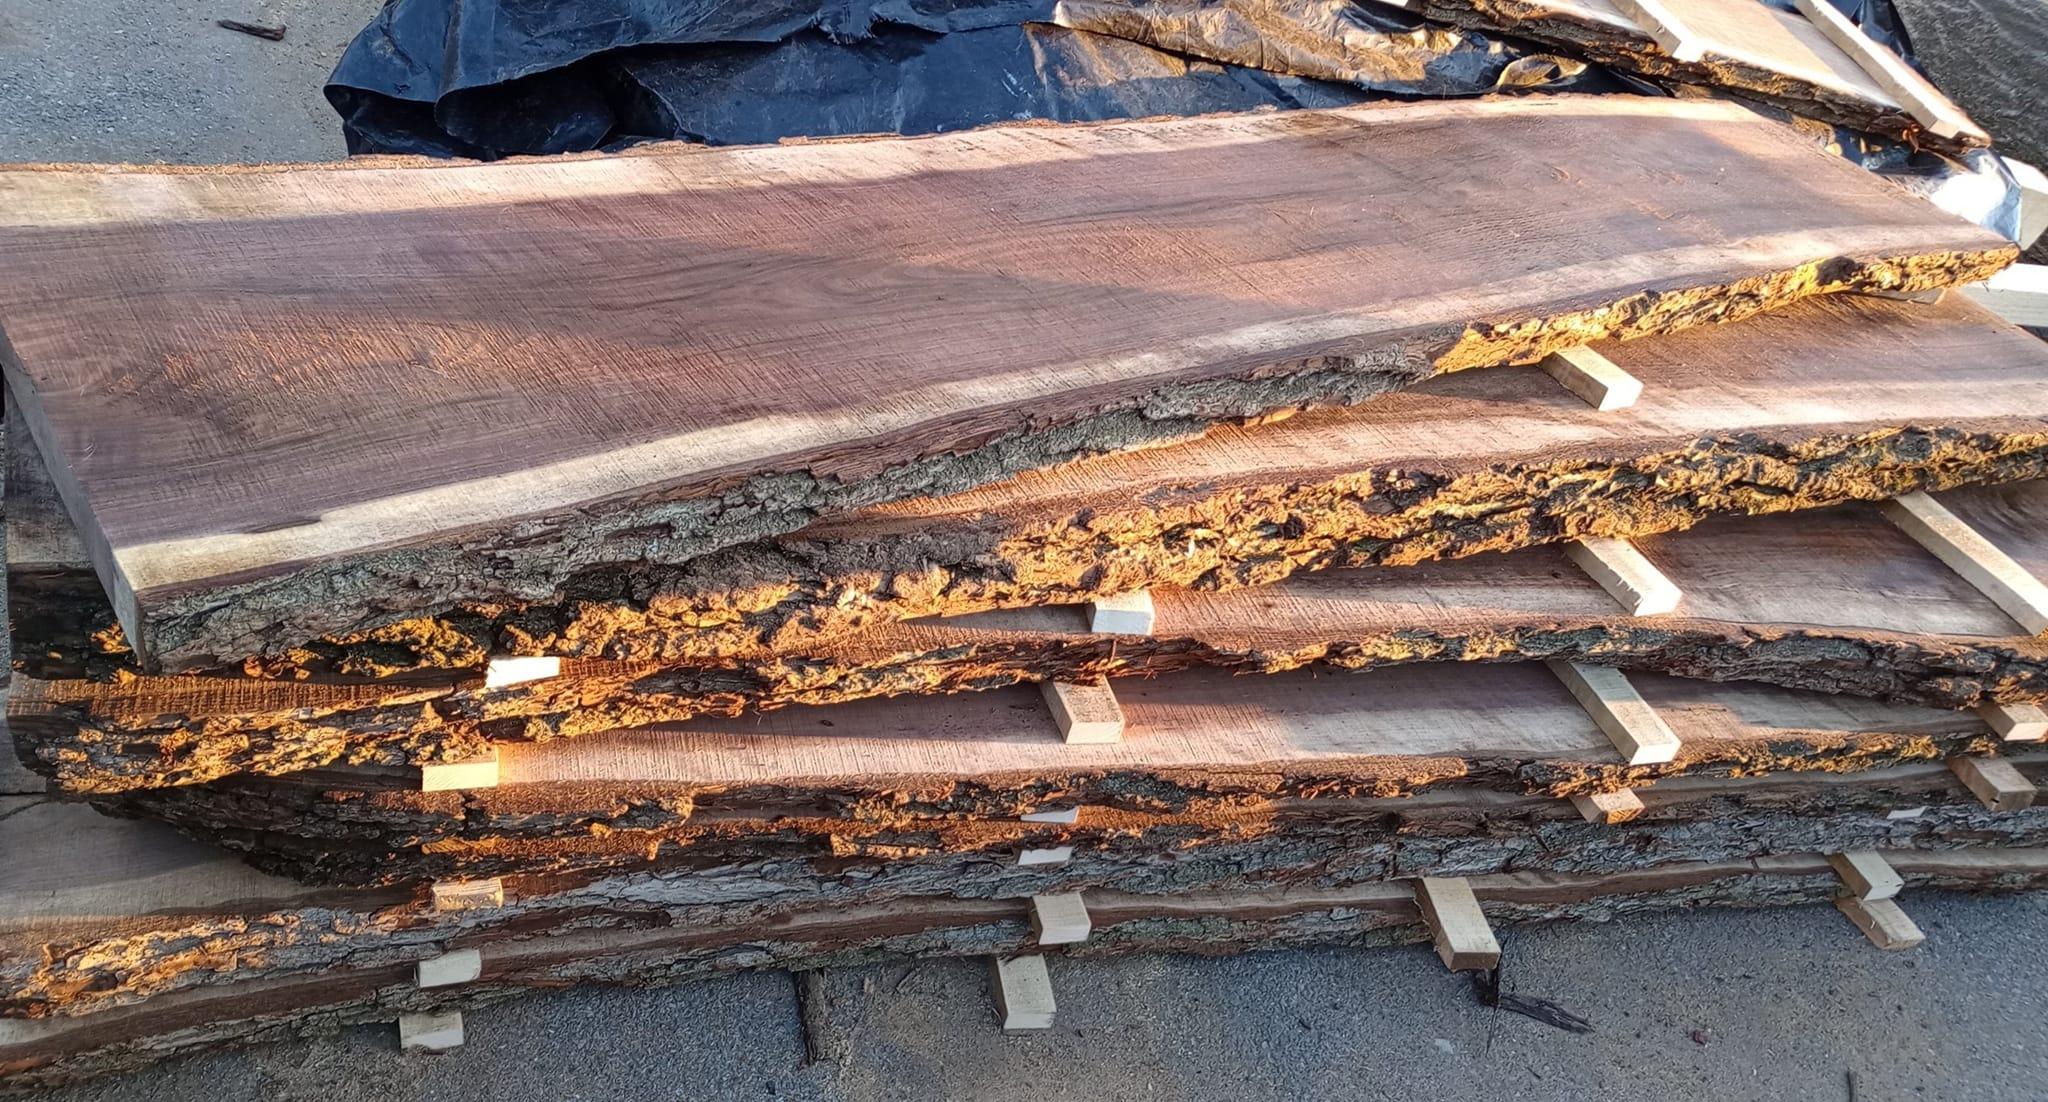
A sticker is a thin stick of wood, about an inch wide, that you space between the boards to allow air to breathe.
Most sawyers using lumber milled on a portable sawmill will use their off-cuts to create their own stickers, but you can easily use salvaged lumber from elsewhere.
Some sawyers don't like using wood stickers, since it's possible for moisture to get trapped between the sticker and the boards, causing uneven drying. Freshly cut stickers can also cause "sticker stains" or "sticker shadows," according to some sawyers, while dry ones should generally be fine to use. If you plan on sanding or planing your boards later, this shouldn't be an issue.
An inch between each board should be sufficient to allow for good airflow, even for thicker lumber that requires more time to dry.
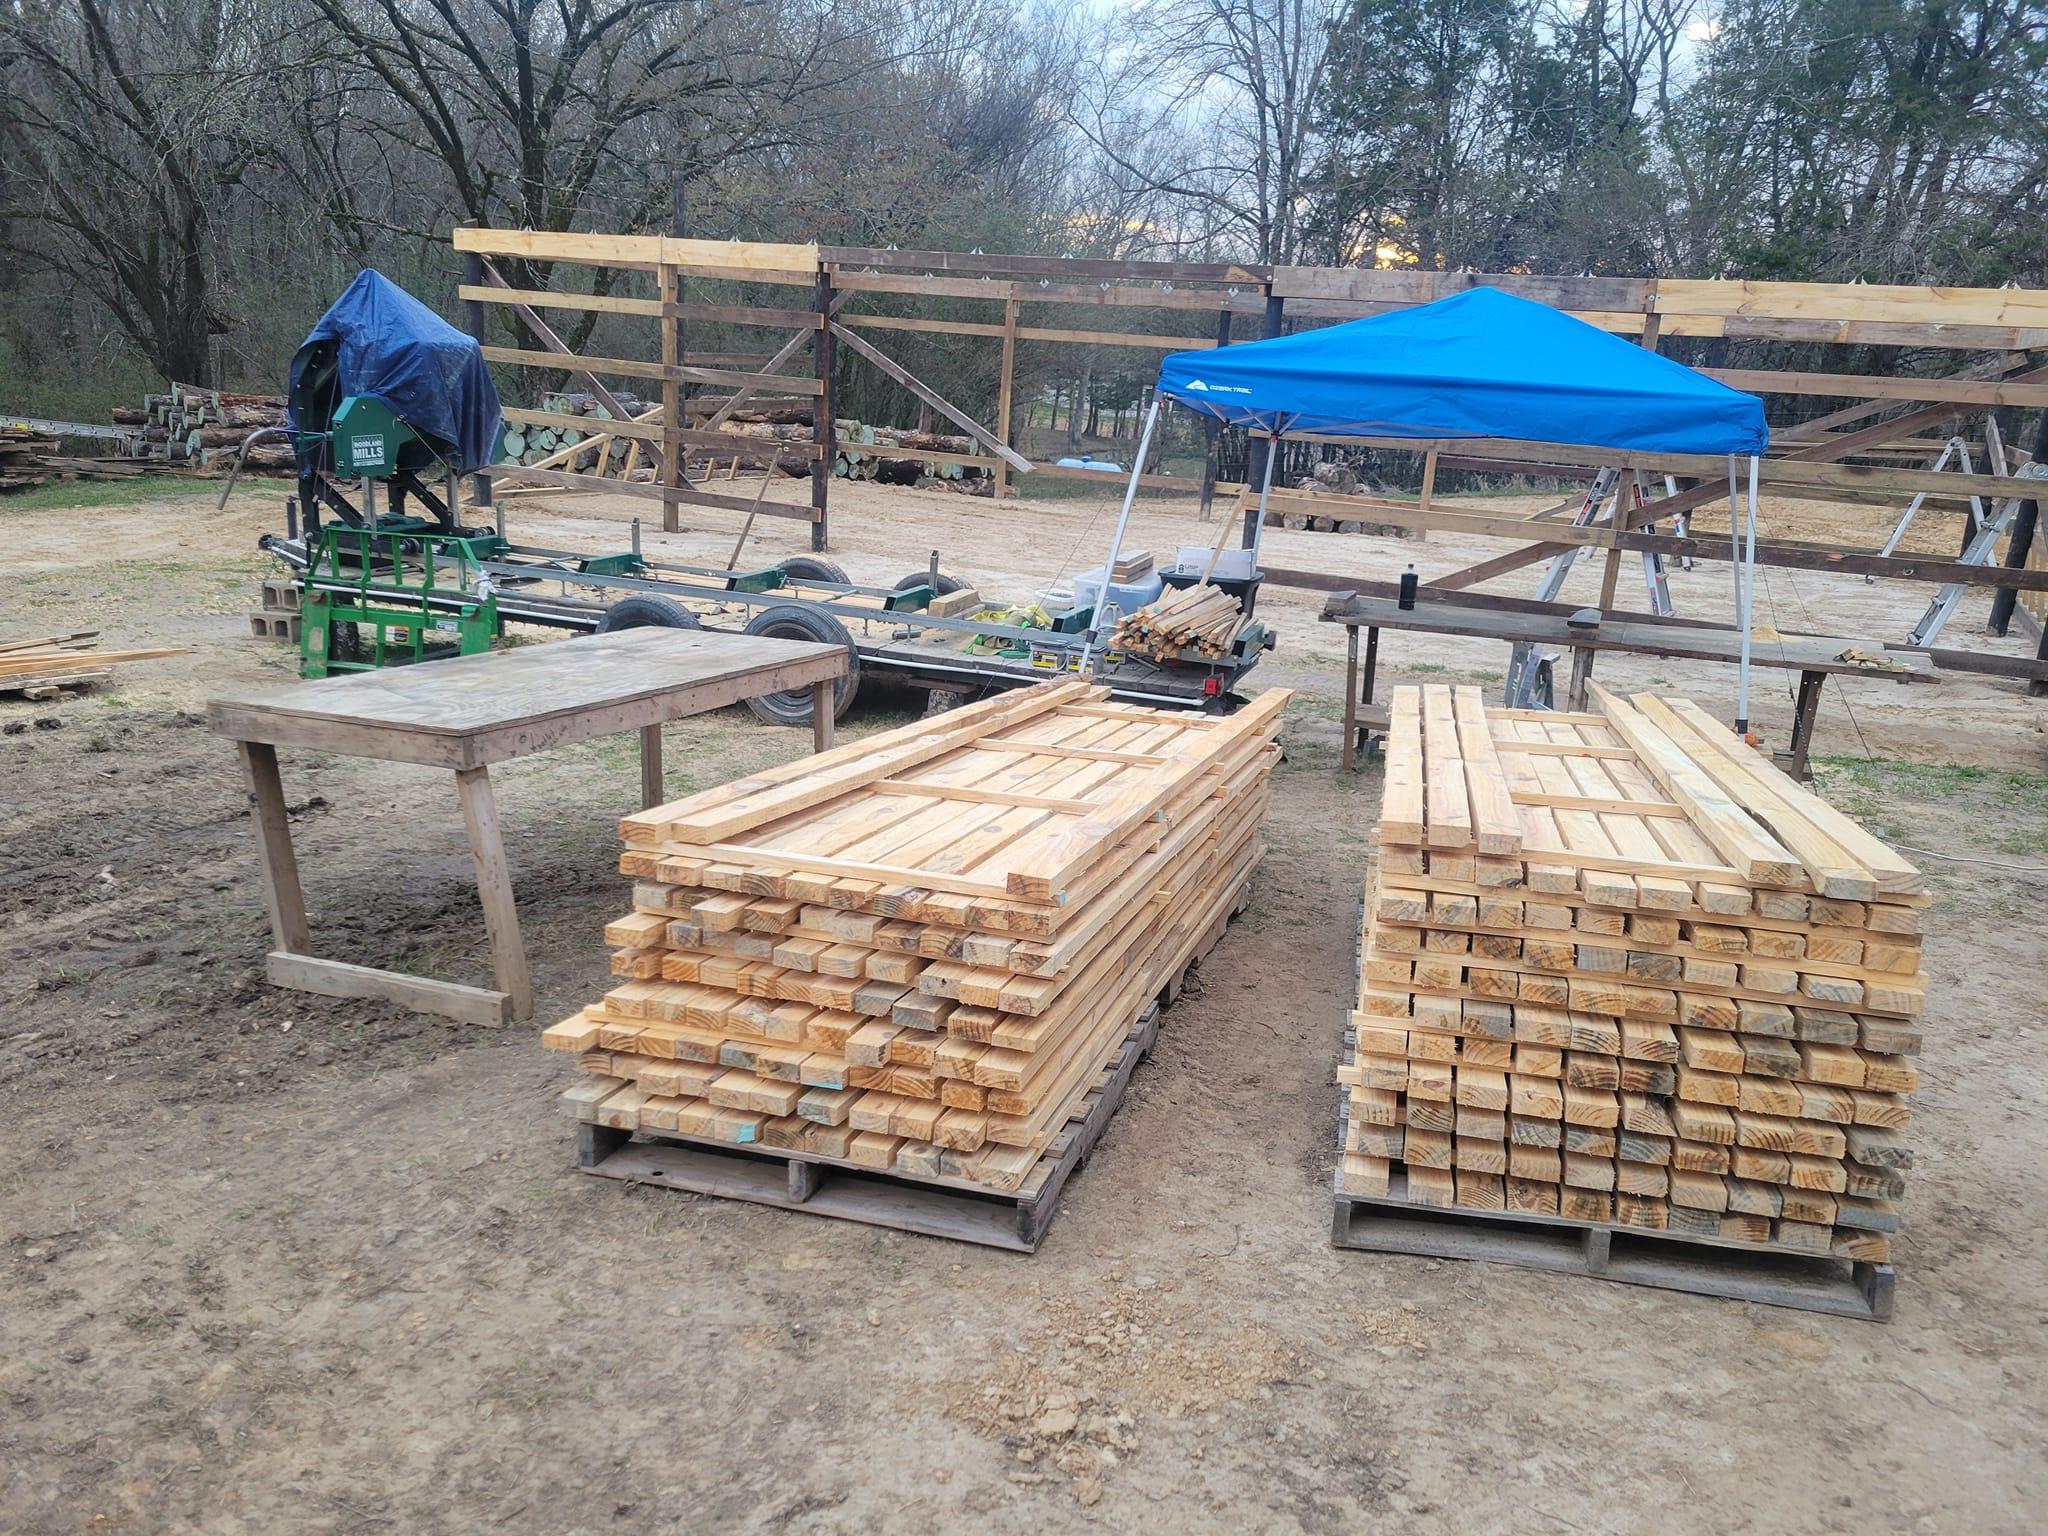
Step 3: Stack your boards
The steps for proper stacking include:
-
-
Ensure your first board isn't lying directly on the ground, use stickers or a wooden palette to elevate it
-
Place 2-3 stickers between each board, spaced out to allow for strong air flow
-
Ensure your stacks are straight and even, to allow for consistent drying for each board
-
When you've finished stacking, use ratchet straps or place weights (such as cinder blocks) to strap down the stack
-
Step 4: Monitor the results
You may think the job is done, and that in a few months you can come back to perfectly dried lumber. But that's far from the case. You should periodically check into your stacks of lumber to ensure they are drying properly.
Things to look out for include:
-
-
Warping: If you notice boards warping that means you need to strap it down tighter. Use more straps spread across the stack, or spread or redistribute the weights you have on top.
-
Mold: This may be hard to find since it will be between the boards. If you notice mold starting to develop, remove the problem board and improve air flow between the boards.
-
Time: Notice that it's taking a long time for your lumber to dry? Use a moisture checker to ensure you're achieving the right moisture content and adjust the level of heat or humidity in the space in response.
-
Step 5: Enjoy your dried lumber
When your lumber has achieved a moisture content of roughly 10-18%, then it should be good for you to use in your projects.
Generally lumber for woodworking should be a little dryer while wood for construction will want to have a bit more moisture content.
When you're ready to use it, go ahead and unstack and begin using your lumber. If you're not ready to use it, then you can leave it in your kiln or drying setup. Go ahead and turn off your moisture and humidity controls, maybe leave the door open to allow for better ventilation, so the wood doesn't continue to dry out more than you want.
Other helpful lumber stacking tips
What else should you know when you're stacking your own lumber? Here are some helpful tips:
-
-
For outdoor air drying, lumber should be protected from direct sunlight and rain to prevent warping and cracking.
-
Cover lumber with breathable material to protect it from moisture while allowing airflow
-
Heavy items should be placed on top of the lumber stacks to keep them flat and prevent them from bowing. Cinder blocks are a common choice, since they're easy to lift.
-
A solid and level foundation is crucial for preventing warped boards.
-
FAQ: Frequently Asked Questions About Stacking Lumber
Q: Will building a kiln help lumber dry faster than drying it outside?
A: Yes. Wood drying kilns help reduce the humidity and provide proper temperature controls. When air drying lumber, your wood is vulnerable to outside elements. If you have a wet, rainy season then that will cause the wood to take longer to dry. A lumber kiln is guaranteed to get the lumber out of a moist environment and into a more controlled one.
Q: Can I straighten out boards that have warped?
A: You can. Use ratchet straps and weights to hold the stack of warped boards down and then leave it for a long period of time. You can potentially fix a warped board, assuming you caught it before it fully dried out.
You can also plane a board down to make it straight again, but that affects the final dimensions of the board, thinning it out.
Q: Should I paint the ends of my board to prevent splitting?
A: It's a good idea, one that many sawyers practice when drying their own lumber. Often sawyers will paint the ends of their logs, which transfers over when they're milled into boards.
Do you need to paint the ends of boards though? It depends. A slow, longer drying period reduces the odds of splitting. If you notice it becoming a problem, you can try painting the ends or you can reduce the amount of heat and increase the humidity in your kiln slightly to reduce the chances of splitting.
SHOP SAWMILLS
HM122
An entry-level sawmill packed with impressive features at a budget-friendly price. Designed for hobby sawyers or woodworkers looking for an economical solution to mill lumber.
HM126
One of the best-valued sawmills in the industry. A longstanding favourite that ensures smooth, accurate cuts. Perfect for hobby sawyers, entrepreneurs or seasoned woodworkers.
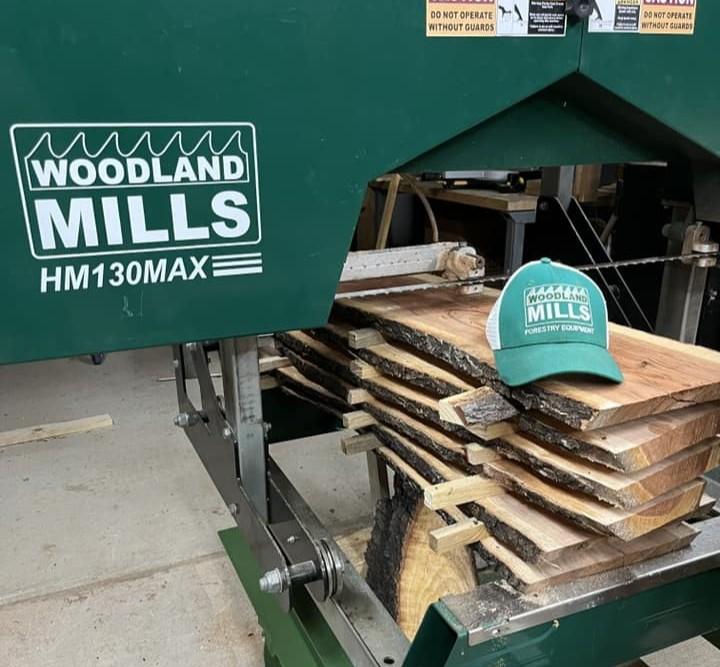
HM130MAX®
A wide capacity sawmill that produces stunning high-value live-edge boards. Loaded with features including our FULLCUT™ sawhead, RapidChange® blade system, auto lube, and more.
HM136MAX™
The ultimate solution for cutting wide live edge slabs, perfect for tabletops, counters, benches, and more. Our unique FULLCUT™ sawhead design ensures your logs' widest assets are left intact.
Join the Woodland Mills Community Facebook group. Search advice and insights from over 65,000 knowledgeable, supportive members.
- Pre-purchase considerations
- Sawmill set-up support
- Project inspiration photos and videos
- Community troubleshooting support