
How to Dry Lumber
Whether you've got slabs or boards, are kiln drying or air drying, here are some tips for getting your lumber ready
Whether you're air drying lumber or using a solar kiln, there's lots of best practices to ensure your boards end up straight, level and that they avoid warping.
We've collected some of the best practices from sawyers with Woodland Mills sawmills and wanted to share their tips with you.
Green Lumber vs Dry Wood
What are the benefits to drying your lumber? It might be tempting to build with green wood, but there are some things you should be aware of before you try this.
Dried lumber has a number of pros:
-
-
Because green wood shrinks, dried lumber will maintain its size and shape
-
Fresh, green lumber can warp and twist, especially if the log itself was bendy when it was standing. Air drying or kiln drying lumber that's stickered and strapped prevents warping
-
General Drying Steps
Whether you're air drying lumber indoors our outside, in a solar kiln or stacked in your yard, here are the steps required to get your wood dry. With well-dried boards, your lumber stack will be your go-to resource for any of your projects going forward. This advice allies to all wood species, whether you're drying hardwood lumber or preparing softwoods.
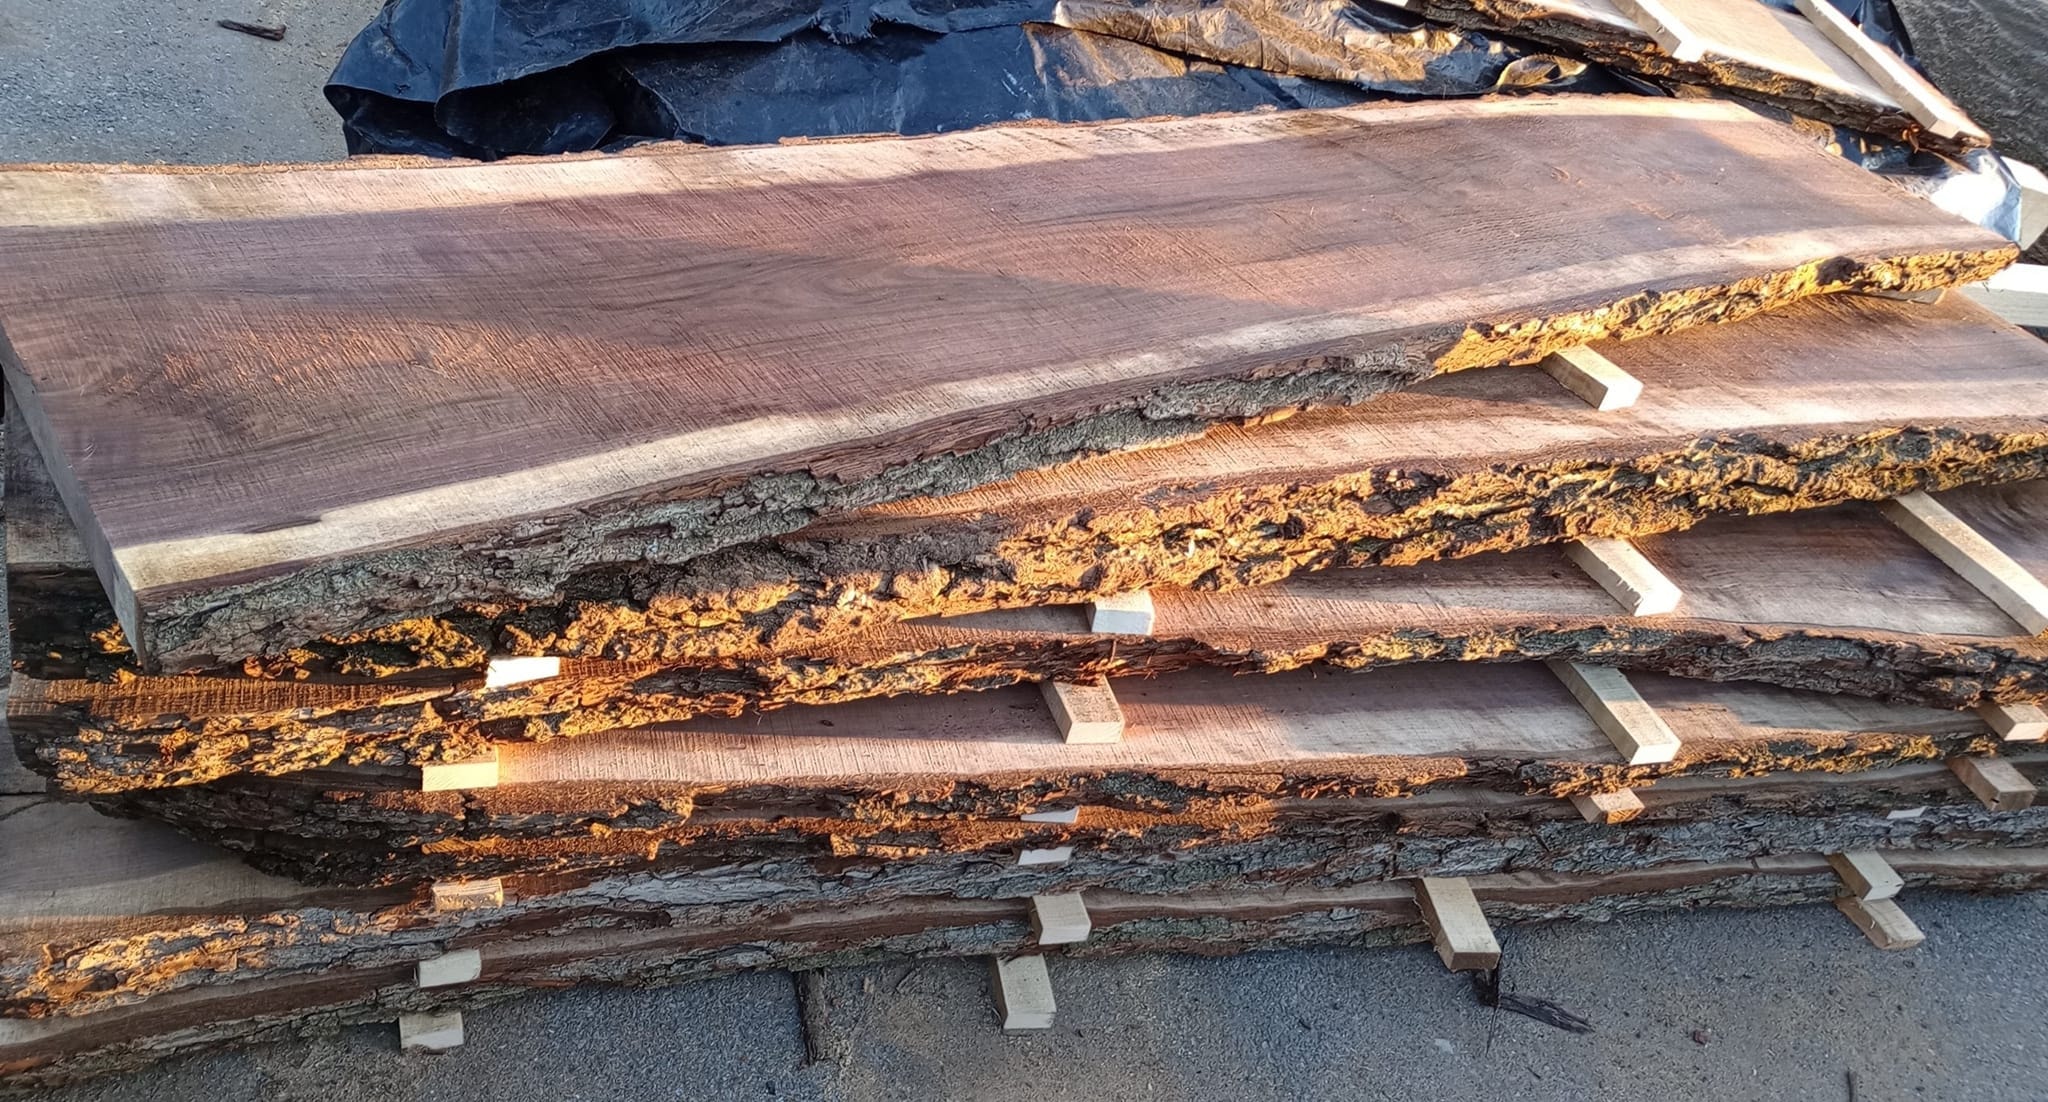
Image courtesy of Chunky Wood Shop from the Woodland Mills Product Owners and Community Facebook Group.
Step 1: Proper Stacking and Stickering
This the tried-and-true method every sawyer uses to dry their lumber.
First you'll need a place to stack your lumber, as it's important to have a level and sturdy foundation prior to sticking and stacking. You can create this with milled 4x4s, concrete cinder blocks, or other type of support.
Then use a level to ensure the stack is level before sticking and stacking. Choosing the best ground helps too (avoid soft damp ground, roots, rocks, etc).
Once that's done you can start stacking your lumber. Stickers are small pieces of wood placed between each board, normally placed at least a foot away from each end. The purpose of stickers is to ensure air movement between the boards as the wood dries.
If you stack your lumber without stickering it, it will lead to inconsistent drying but could also encourage mold to grow on your wood. Optimal air circulation is required because it will mean consistent drying of all your boards on both sides.
Stack boards according to length and width as best you can for even weight distribution. Shorter boards on the bottom will bend, as will longer boards on the bottom if you stack shorter boards unevenly on top.
Make sure your bottom board is stickered underneath so it's not touching the ground, so it gets optimal airflow on both sides.
Step 2: Paint the Ends
As the moisture level in the wood decreases, the boards will dry and shrink. This can potentially cause the wood to split at the ends, causing significant damage to the boards if left unchecked.
To resolve this many sawyers will paint the ends, which slows down the drying process in those places and makes it less likely for the wood to crack.
Some sawyers will use:
-
-
Regular outdoor enamel wood paint, applied in at least two coats
-
Specialized wood end sealer, designed to prevent moisture from escaping the ends
-
A homemade mixture of sawdust and glue, made in a 50/50 ratio
-
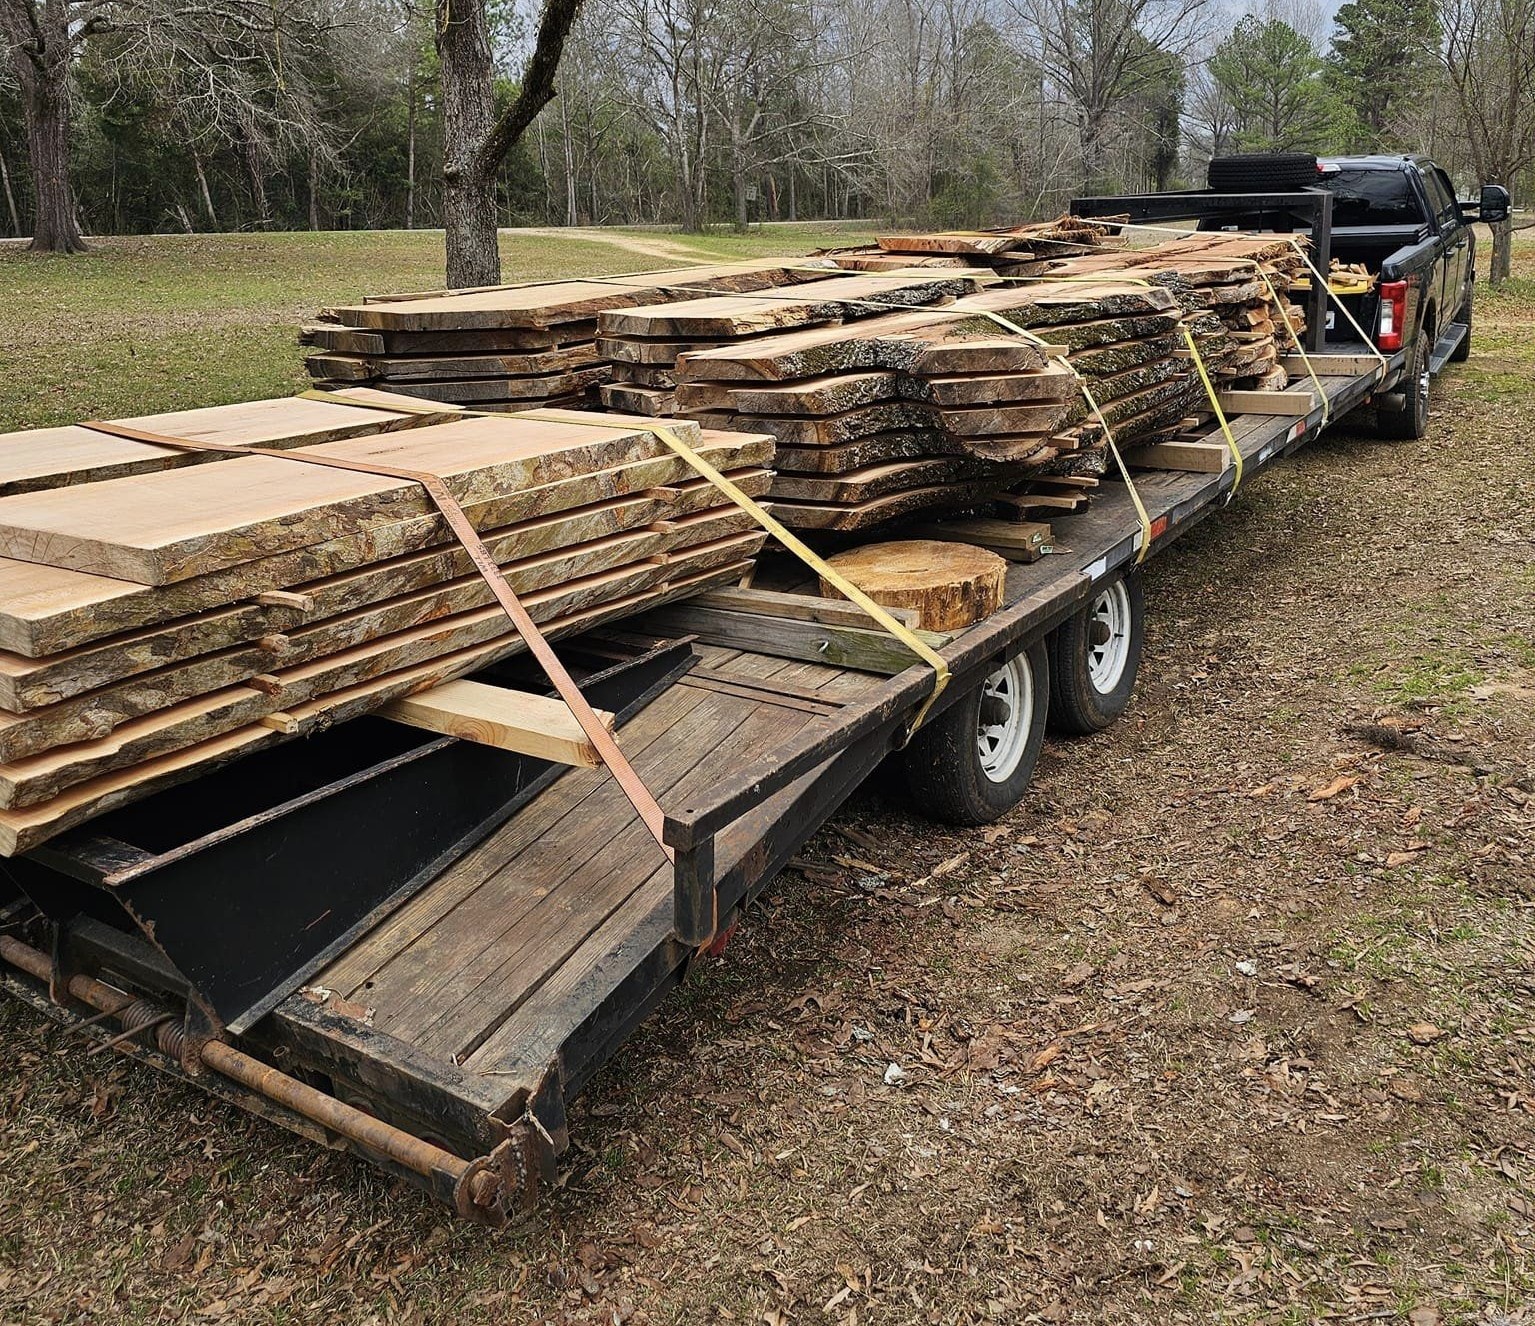
Image courtesy of Roger from the Woodland Mills Product Owners and Community Facebook Group.
Step 3: Strap it Down
As wood dries it bends, usually bowing outwards away from the heart of the wood. Because of this, even with stacking and stickering, it's possible for the boards to bend as they dry.
To prevent this some sawyers will use high tension straps to keep the wood flat. To do this they:
-
-
Get two ratcheting straps
-
Place them at least one to three feet from the ends of the boards, depending on the length of the boards
-
Once the strap is wrapped from the bottom board to the top, ratchet it so it's taught and won't flex if the boards start to bend
-
If the boards are continuing to bend despite the ratchet straps, place a third in the middle of the stack
-
Doing this helps ensure boards remain flat and level, meaning they'll be optimal for using for precise projects like building furniture or other wood products.
You can also cover the stacks with sheet metal, plastic roofing panels, tarp, or even slab offcuts. If the stack is protected from rain, snow, sleet just make sure there is ample air flow for the sides of the stack.
Step 4: Plan for Drying Time
This is probably the hardest part... waiting.
With enough moisture in the boards, it can take months or even up to a year or more for your wood to reach the optimal levels required for building. Thicker lumber will take more time to dry too, so be aware of that.
Use a wood moisture meter to check its dryness periodically and tighten the straps if you see your boards start to bend. You can gently correct wood that's drying improperly, but that becomes more difficult as you get further into the process.
Remember, if you dry the wood too quickly, you all but ensure it will bow and crack. Drying takes time so follow all the necessary steps for your boards to end up perfect.
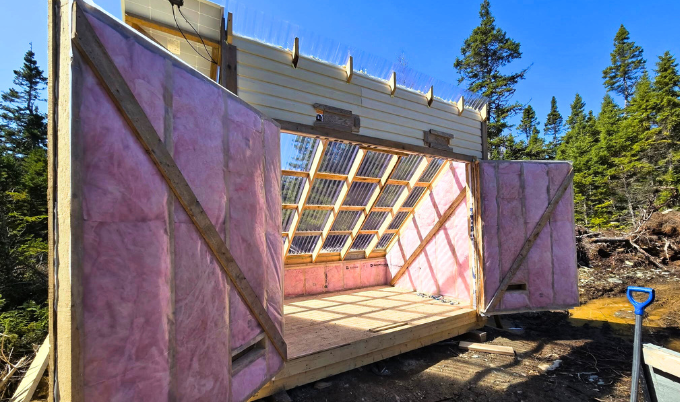
Image courtesy of Tyrone from the Woodland Mills Product Owners and Community Facebook Group.
Solar Kilns
Solar kilns, as the name implies, use the power of the sun to help dry your lumber. This is especially useful in warmer climates where you get plenty of sun, but can also be handy in colder climates where an indoor, climate controlled environment is the best place for wood to dry.
Solar kilns work by:
-
-
Using a large window, made of glass, plexiglass or a transparent sheet of plastic to allow sunlight into the interior to heat the wood
-
The environment is sealed so heat stays trapped inside
-
Essentially creating a greenhouse for your lumber
-
Solar kilns are an easy method for kiln drying because they don't require external heating or dehumidification tools, relying solely on the power of the sun.
The benefits of solar kilns:
-
-
They can be built to whatever size you need
-
They don't require power to be supplied to them
-
They're low cost and very efficient
-
The major downside to solar kilns is that they require sunlight, and depending on where you live or the weather for the season, you may not get enough sunlight for solar kilns to be effective. Simply having your wood in a stored environment with captive heat will definitely aid the drying overall, but not as quickly if you don't have the sun on your side.
Dehumidification Kilns
These work much like solar kilns, however they do not use the power of the sun, but instead focus on tight airflow and humidity control to dry your lumber.
These kilns use more modern tools to supply heat and cause wood to dry quickly.
How dehumidification kilns work:
-
-
A heater warms the environment and causes the wood to dry
-
A dehumidifier removes moisture from the air around the wood and takes it out of the kiln
-
Hot air is recirculated throughout the kiln to ensure the wood continues to dry
-
Dehumidification kilns are an amazing tool for pulling moisture out of the wood and turning it into useable lumber quickly.
The benefits of dehumidification kilns:
-
-
You have the greatest amount of moisture control
-
You can turn lots of wood into dried lumber quickly
-
They can dry wood much faster than air drying or solar drying, depending on the conditions
-
However there is one notable downside to these types of kilns, and that's the investment required to get them running. These kilns require much more space due to the equipment required to keep them going. They also require a lot of power, since you need to keep the heaters, dehumidifiers and air flow controls running at all times. Some manufacturers do make storebought dehumidification kilns, and these can range from small sheds you can install in your property to vast warehouses for storing rows and rows of lumber.
While this sounds expensive, you can do this at home for a lower cost.
Here's how to make a DIY dehumidification kiln:
-
-
Create your own heat with portable space heaters. Some sawyers like Lee in the Woodland Mills Facebook community use their own wood stove, saying "it seems like a no brainer" to use the residual heat from his stove to warm his adjacent kiln
-
Use storebought dehumidifiers to keep your wood dry. These may require you to dump them periodically or run a vent outside so the moisture has a way to escape while keeping the heat trapped inside
-
Simple rotary fans can help recirculate heat and ensure hot air continues to flow between your stacks of lumber. Solar fans intended for greenhouses make for perfect airflow tools
-
Check the Moisture Content
What is the perfect moisture content level in the wood for building?
That will depend on the species and projects you're planning on using the wood for but usually if you want to build tables, chairs or furniture, you may want your lumber to be a bit drier. Conventional framing or timber framing actually doesn't require your wood be as dry. While wood will settle and shrink over time, it's more important for tightly-fitted projects like door or window frames.
Some sawyers try to get their lumber to 12% moisture before building with it. Others say they're content with 18%, depending on the project.
Here's some advice:
-
-
Some sawyers say they wait until their wood is at 10% moisture before using it, but the wood will continue to dry after it's used. So if you're at 12% then time will take care of the rest
-
Use a wood moisture meter to check the moisture content of your wood. Check every few months or weeks, depending on how quickly you want your wood dry
-
Some sawyers are content to build with green lumber, though you should take into account how the wood will shrink and settle over time.
-
Wood will naturally retain and collect some moisture, so there's not much of a point in reducing its moisture content below 10%, according to various sawyers in the Woodland Mills Facebook community.
Fixing Drying Defects
If you notice your boards are starting to warp while you're drying then you should stack the wood again with the following steps.
-
-
Re-ratchet your boards, ensuring they're tight. Don't forget to ratchet the middle of the boards, especially if they're bowing outwards
-
Relocate your stickers, and add more, to create more structural support of your stack. Make sure your stickers are uniform thickness, so they're not contributing to any warping
-
If you're using a kiln, continue to monitor the humidity using a moisture meter and check back frequently
-
If drying stresses develop, make sure the ends of your logs are painted and increase the humidity of your kiln to slow down the drying process.
Planning for Warping
As your boards dry they could potentially bend and warp, even if you properly stack and sticker them. To mitigate this you can try having thicker boards (1 1/4" vs 1") as this leaves more room for you to plane and finish them and straighten them out, without having to take off more material than you need.
SHOP SAWMILLS
HM122
An entry-level sawmill packed with impressive features at a budget-friendly price. Designed for hobby sawyers or woodworkers looking for an economical solution to mill lumber.
HM126MAX
The original Woodland Mills portable sawmill. Trusted by hobbyists for years, now featuring a FULLCUT™ sawhead to maximize usable cut width.
HM130MAX®
A wide capacity sawmill that produces stunning high-value live-edge boards. Loaded with features including our FULLCUT™ sawhead, RapidChange® blade system, auto lube, and more.
HM136MAX™
The ultimate solution for cutting wide live edge slabs, perfect for tabletops, counters, benches, and more. Our unique FULLCUT™ sawhead design ensures your logs' widest assets are left intact.
Join the Woodland Mills Community Facebook group. Search advice and insights from over 65,000 knowledgeable, supportive members.
- Pre-purchase considerations
- Sawmill set-up support
- Project inspiration photos and videos
- Community troubleshooting support