
Planting Pine Trees: From Seedling to Sapling and Beyond
Turn your pine seedlings into a full pine forest for sawlogs, firewood and so much more
Pine trees are durable, hardy and utilitarian. Planting pine tree seedlings to make your own private forest should be easy.
From picking a planting site to planting bare root seedlings, there are a lot of steps involved in getting your pine tree woodlot ready, so let's go over these steps so you have a primer for starting your own pine lot.
Whether you want to plant a handful of longleaf pines in your yard or a whole field of white pines, here's a guide to planting pine.
Site Preparation for pine trees
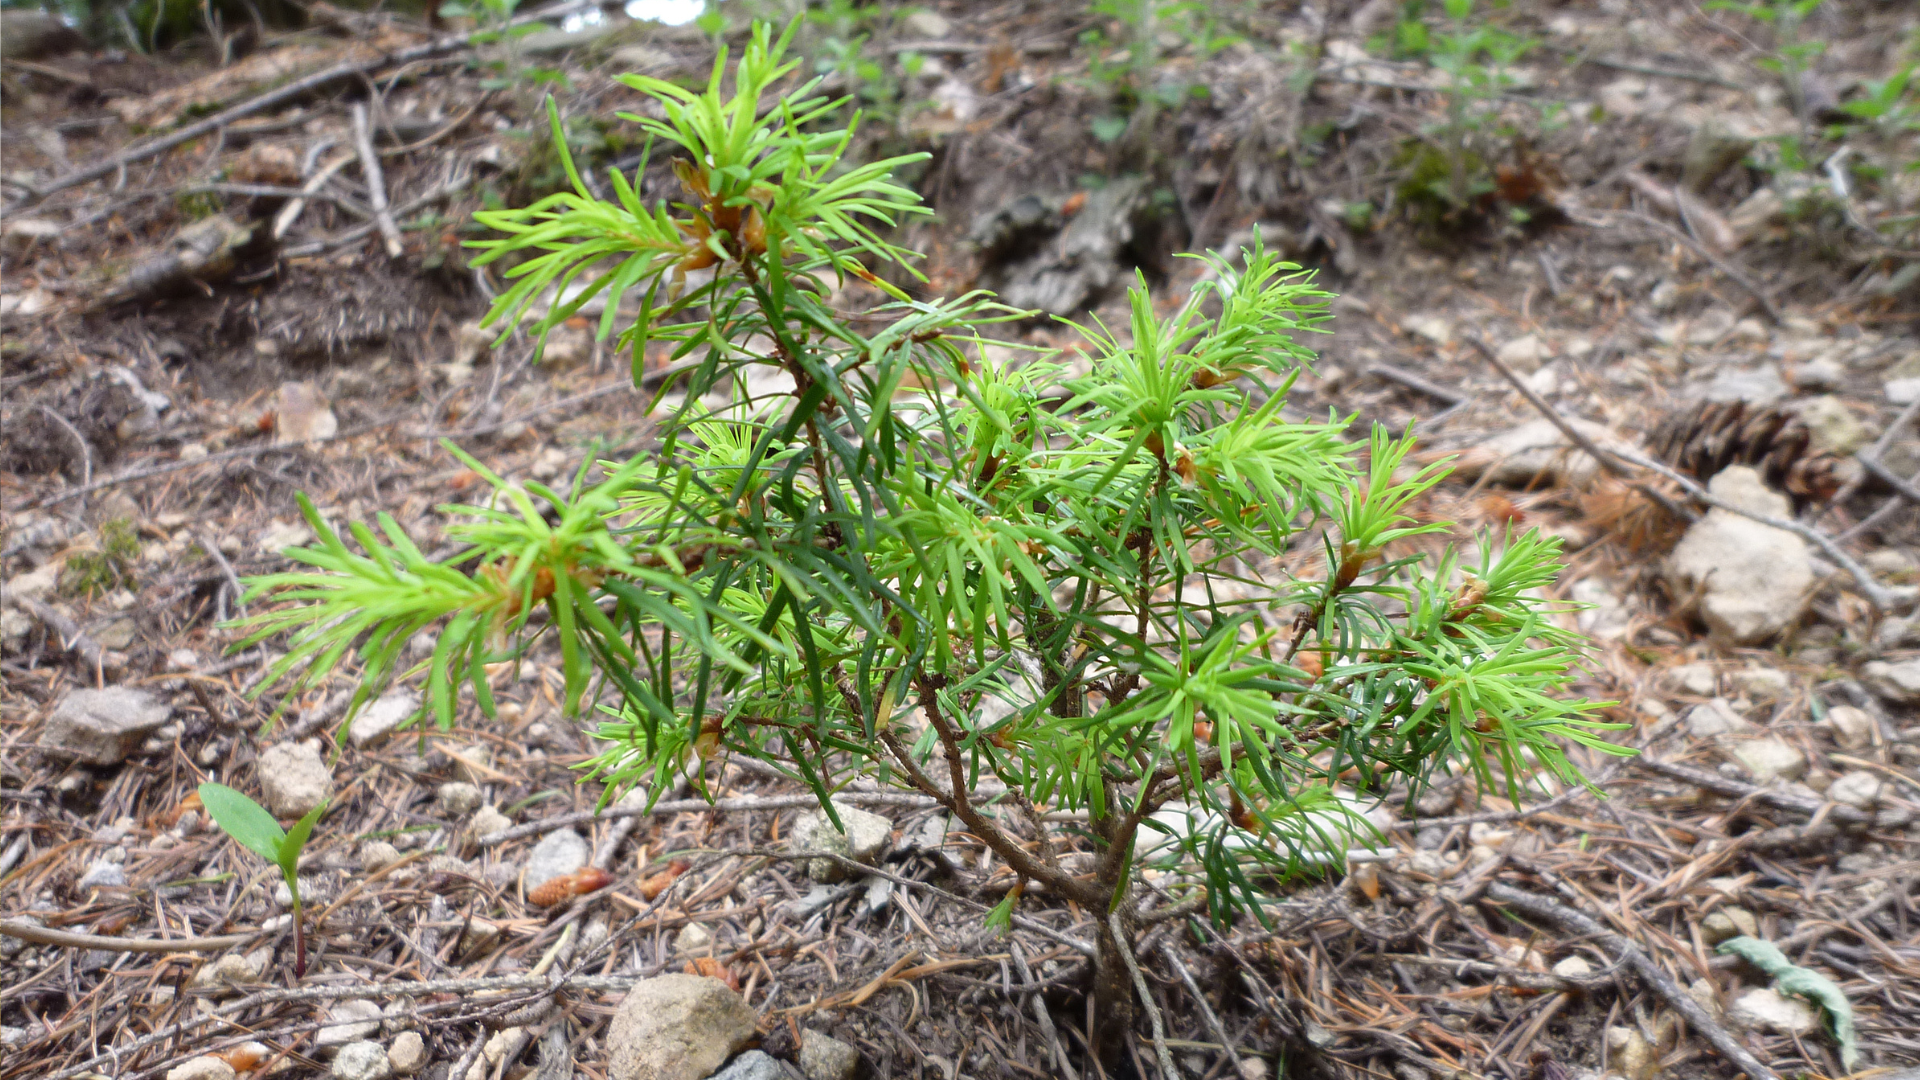
Pine trees are a durable deciduous species that can thrive in a mix of warm and cold climates. North America has many pine forests that are thousands of years old, as well as second and third generation forests replanted from colonial times.
When it comes to planting pine trees, you will want to pick an area that:
-
-
Has a lot of natural sunlight
-
Is generally flat and easy to plant
-
Is large enough for trees to be evenly spaced out
-
Won't be susceptible to predators, erosion or other negative factors
-
Great places for planting pine trees:
-
-
Reforesting de-forested areas like harvested woodlots or former farmland
-
Extending existing forests
-
Large, wide open areas
-
Most people will be planting pine seedlings on their own property. If you intend to do reforestation work on public land, reach out to the government agency responsible for ecology and conservation in your area first to make sure it's safe to do so.
Planting Tree Seedlings
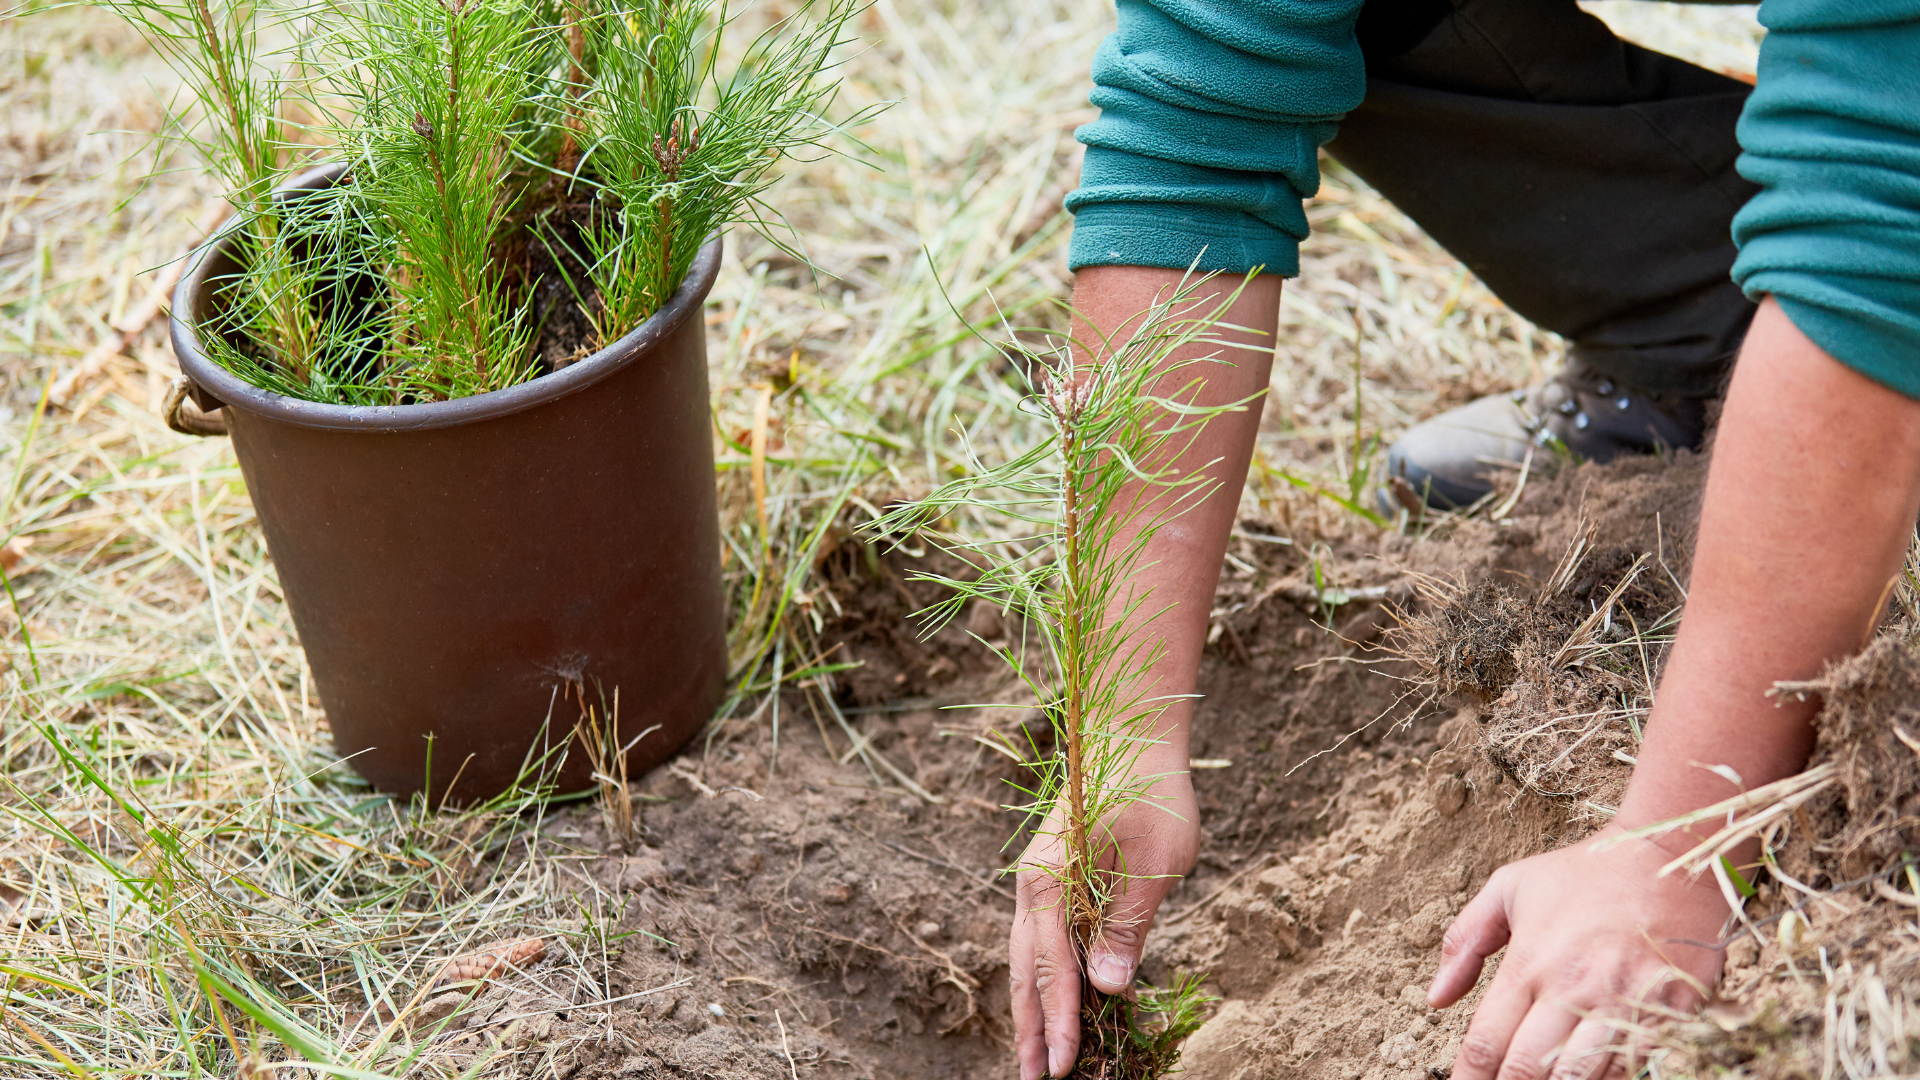
Pine seedlings are flexible, making them sturdy when it comes to surviving storms and heavy winds. Because of this, they're easy to plant and maintain.
Be sure to carry seedlings in containers where they won't rock around or tip over while in transit. They should be healthy and recently watered before replanting.
When it comes to planting seedling survival and placing your seedlings in your planting holes, follow these steps to easily start your pine forest.
Step 1: Create a planting hole
Stake your shovel into the ground at the depth you expect the tree roots to sit while the start of the stem is flush with the ground. You can either fully remove the dirt or temporarily lift it up.
Step 2: Place your tree in the ground
Place your tree in the ground so the root system is fully submerged in the earth. Make sure the root collar (where the roots meet the stem) sits even with the ground.
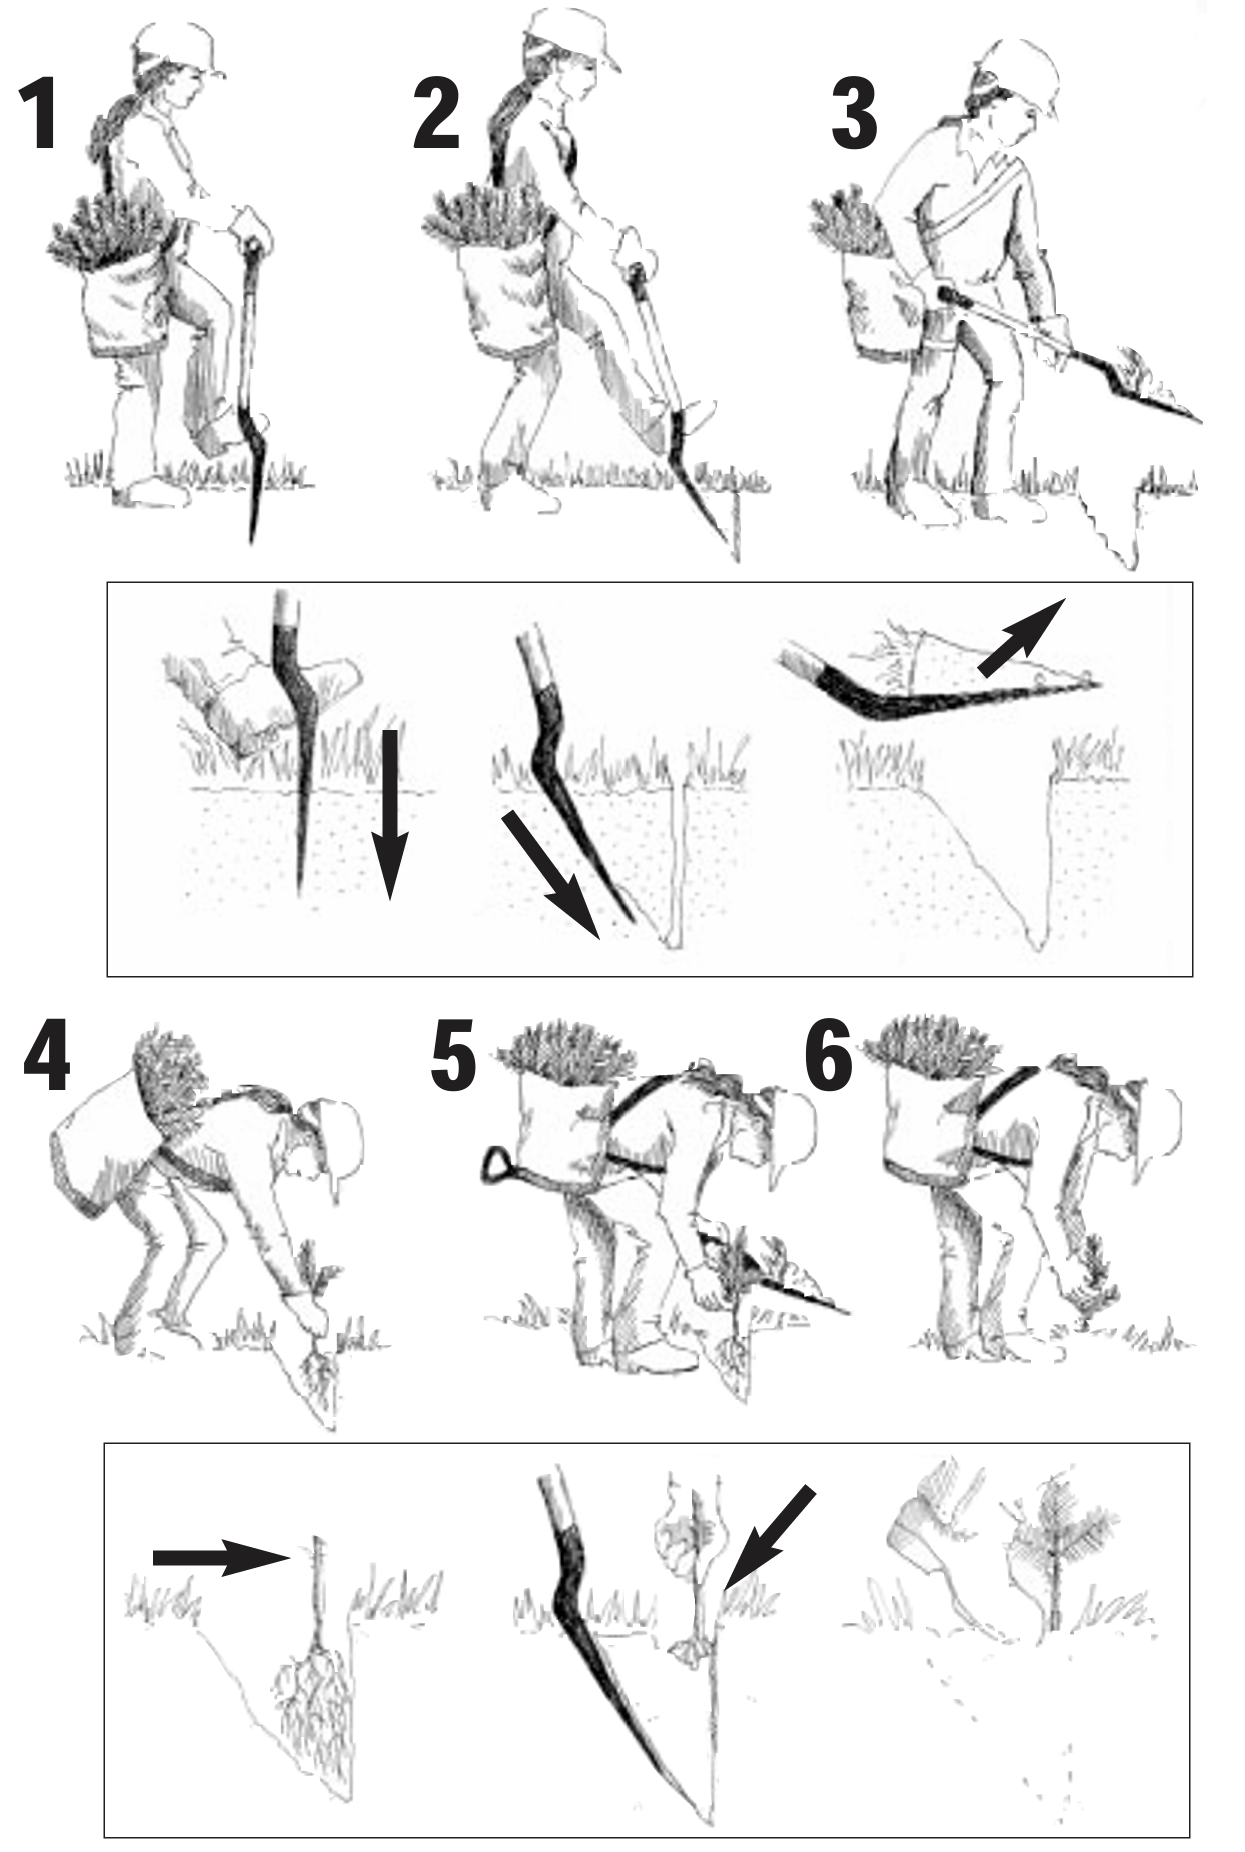
An illustration from the Ontario Woodlot Association showing where to plant tree seedlings and how to place the seedling roots.
Step 3: Replace the dirt
Using the slice of dirt you initially removed or lifted, place it back in the hole so the root system sits upright and the seedling is standing straight.
Step 4: Enjoy your newly planted trees
It's suggested to begin the planting process in warm, dry conditions to make tree planting easier. Early spring may be an ideal time, after the ground has fully thawed from the winter and spring showers are expected to begin. This will make the best conditions for root development and upward growth.
Replanting Young Pine Trees
Another option for planting young pines is to replant saplings as opposed to seedlings. This involves raising pine seedlings in a controlled environment and then transferring them to a site. Containerized seedlings should already be ready to plant without root pruning.
The benefits of this include: Pine saplings are more mature, developed and able to withstand weather and are taller, meaning deer and other herbivores cannot reach their branches as easily.
Picking a warm, moist time of the year during planting season is key to the survival of your new pine tree.
This involves a number of steps.
Step 1: Root Pruning
Re-potting any plant involves either removing the roots in a root ball, or root pruning. This means trimming the roots with a shovel, leaving enough root system so it can regrow when replanted.
Dig down around the base of your sapling and examine how far the roots extend from the tree. Then carve out a root ball by pruning the roots, leaving the majority of the roots attached to the sapling. Avoid damaging the roots unnecessarily so they're ready to take root when replanted.
Step 2: Digging a Planting Hole
In the place where you want your sapling planted, dig a hole in the soil that's a little larger than the roof ball of your pine tree. Make sure it's the right depth so when you've inserted the sapling it sits level to the ground.
Step 3: Plant Your New Tree
Now insert your tree sapling into the hole. Pack the dirt in around it and make sure the tree is level with the ground and straight. Once you've closed the hole, your tree is planted.
How to do Pine Tree Maintenance?
Now that your pine trees are planted there are a number of important steps to follow.
-
-
Routinely check on your saplings to ensure they are watered and the soil is soft, containing enough moisture and nutrients to keep it growing
-
You can put cages around them to protect them from herbivores but this step may not be necessary
-
Trees grow upwards toward the sun, so if you plant them in a shady area they'll grow upward faster to try and reach sunlight
-
Ensure your trees have adequate sunlight and don't choke each other out as their crowns begin to develop
-
You can trim lower branches to support upward growth
-
SHOP SAWMILLS
HM122
The HM122 portable sawmill, packaged with the rugged Bushlander® trailer for complete mobility, loaded with features like the RapidChange® blade system, auto lube and more.
HM126
The sawyer favourite HM126 portable sawmill, packaged with the Woodlander® trailer for complete mobility, ideal operation height and easy storage.
HM130MAX®
The wide capacity HM130MAX® portable sawmill, packaged with the Woodlander® trailer for complete mobility, comfortable operation height and easy storage.
HM136MAX™
Our widest-capacity portable sawmill, the HM136MAX™, packaged with the Woodlander® trailer to make it easy to take anywhere and easy to store.
Join the Woodland Mills Community Facebook group. Search advice and insights from over 65,000 knowledgeable, supportive members.
- Pre-purchase considerations
- Sawmill set-up support
- Project inspiration photos and videos
- Community troubleshooting support